This post may contain affiliate links. Please read our disclosure policy.
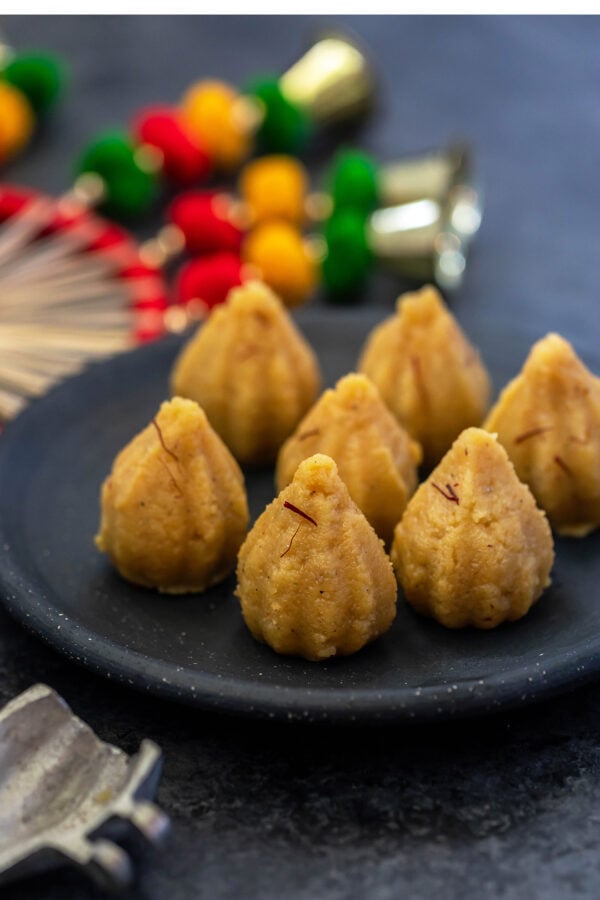
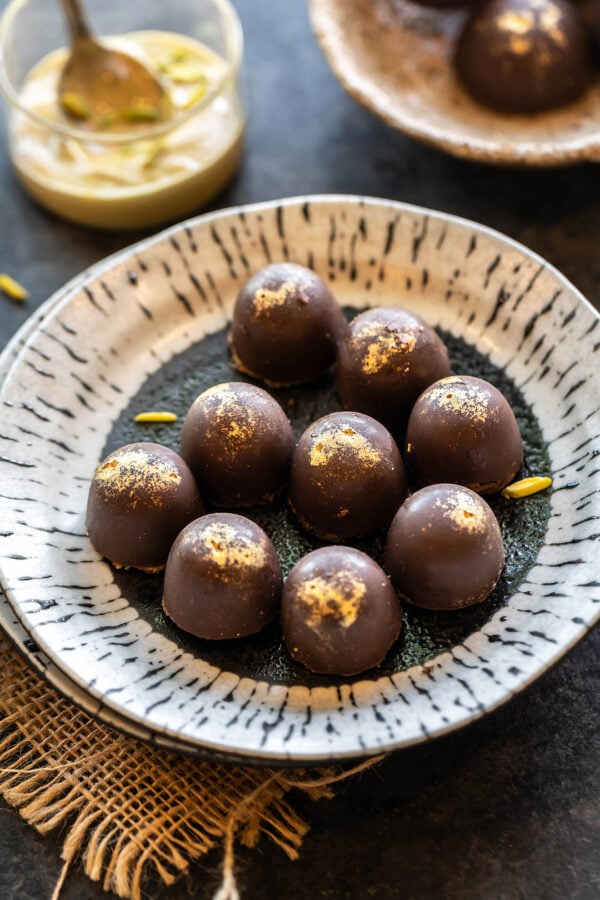
Don’t look down on this plain white burfi, it looks simple but it’s big on flavor and one of the most popular and also the easiest mithai that you can make for the Indian festive season. When I was little, I wasn’t very keen on this milk burfi but as I have grown older, I have realized how good it really is. This is a foolproof burfi recipe and once you master this, you can actually make so many variations from it.

Milk Burfi Recipe At A Glance
- Need only 6 ingredients (the 6th ingredient is actually optional)!
- Made with basic ingredients like milk powder, butter, milk and sugar.
- Takes less than 25 minutes to make!
- Has the perfect texture with a slight graininess.
- Makes 16 big pieces of burfi which is perfect for sharing with friends and family.
Making Indian mithai at home cannot get easier than this plain milk burfi recipe. Indian sweets do get a rep of being hard and honestly some of them are hard like gulab jamun, besan burfi (made with gram flour) etc. It’s a lot about sugar syrup consistency, getting it to cook until just the right stage, and there’s so much that can go wrong in between all that. This milk powder burfi, though, doesn’t involve any sugar syrup and that makes it a lot easier.
Milk burfis can be made with mawa (khoya) or milk powder. I like making them with milk powder since that is readily available everywhere. You don’t have to go to an Indian supermarket to buy it. I also use butter in the recipe although ghee can definitely be used.
Let’s Make Milk Burfi with Milk Powder
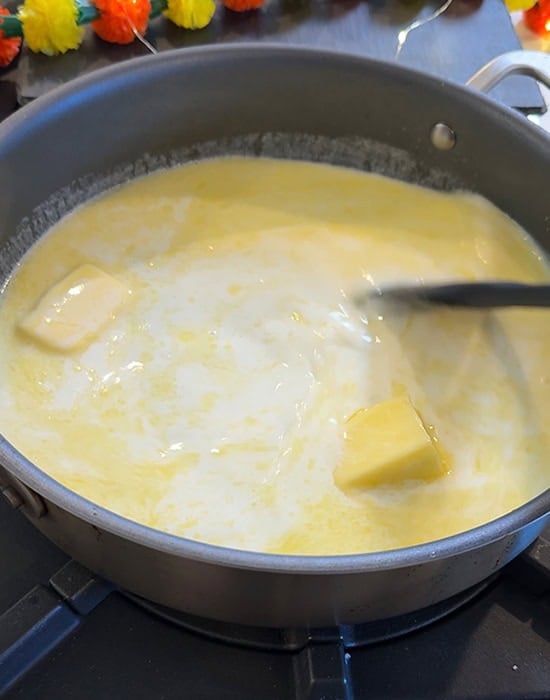
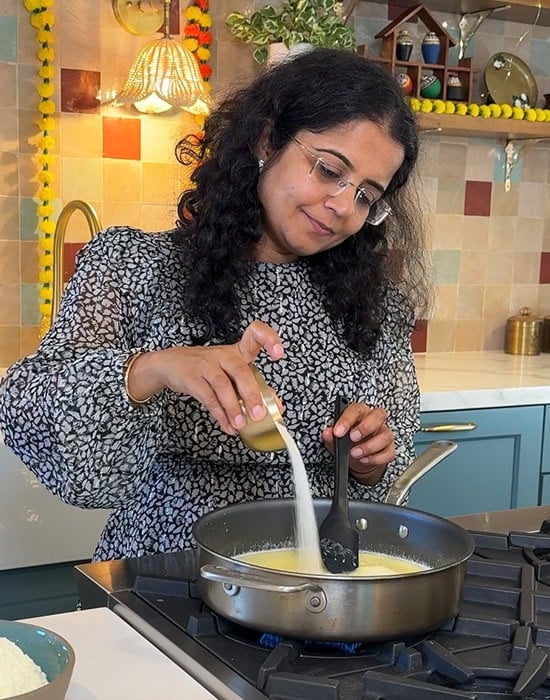
- Melt milk, butter, and sugar together
To a heavy bottom pan, add the milk and butter first and let the butter melt completely and then add the sugar and let that also melt until you don’t see any sugar crystals. I like using salted butter for this recipe but you can use unsalted butter as well in a pinch. Just add some salt to the mixture in that case.
- Stir in the milk powder
I use Nestle Nido whole milk powder and recommend you do the same. The other brands that are available in the market here in the US don’t work that well. If you are in a different country and have used a milk powder brand for making mithais and know that it works well, then go for it. Just make sure to use full fat milk powder. I have flavored this plain burfi with only cardamom powder but you can also add some saffron strands and rose water.


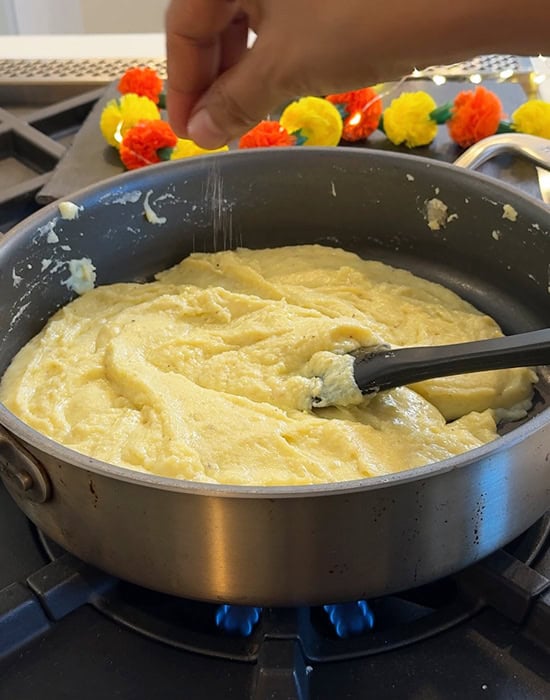
- Cook on very low heat until the mixture leaves the sides of the pan
The mixture actually starts leaving the sides of the pan at around 5 minutes on very low heat. But it’s still sticky at that point. You can add a pinch of citric acid at this point if you like, this is optional. It gives the burfi a little grainy texture but it’s good even without it. Anywhere between 8 to 9 minutes on very low heat is when the mixture is done, it leaves the sides and comes together as a dough. It also becomes non-sticky, do not overcook from this point as that will result in chewy burfis. It usually takes me around 9 minutes.

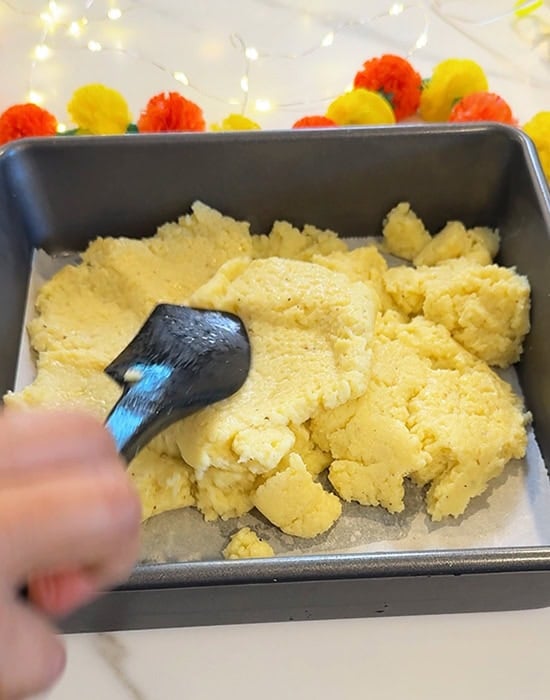
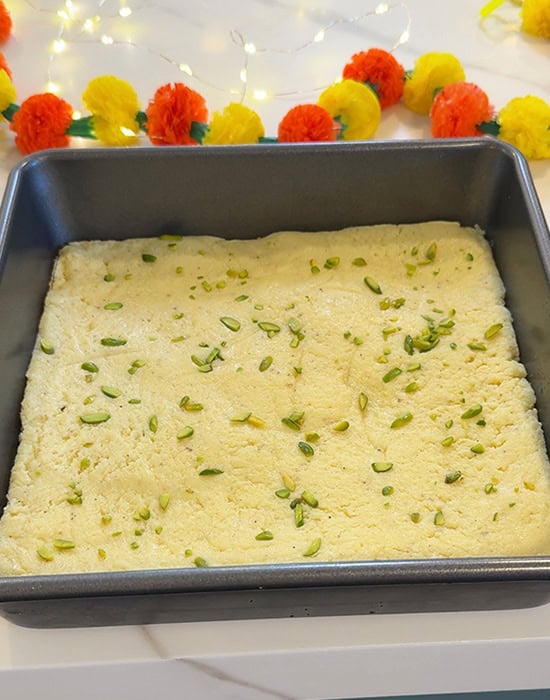
- Set the burfi
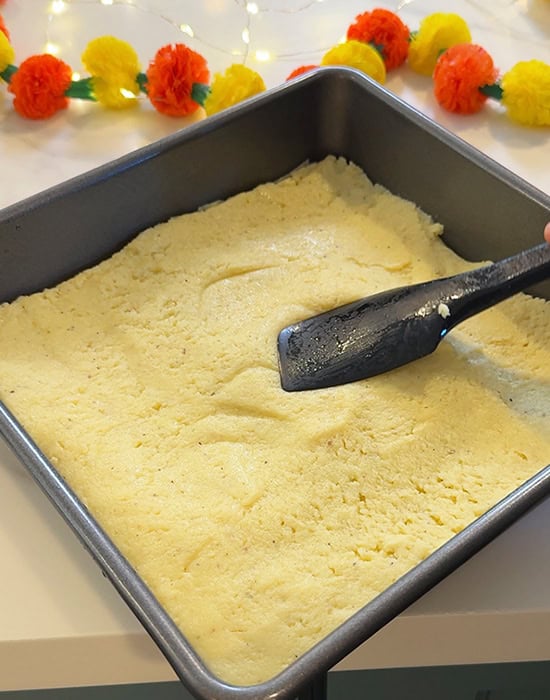
Once the mixture is cooked, transfer it to a square pan (I used a 8×8- inch) lined with parchment paper and press the mixture down into the pan using a spatula and smoothen it out. Don’t forget to use the parchment paper so that the pieces come out easily once set.
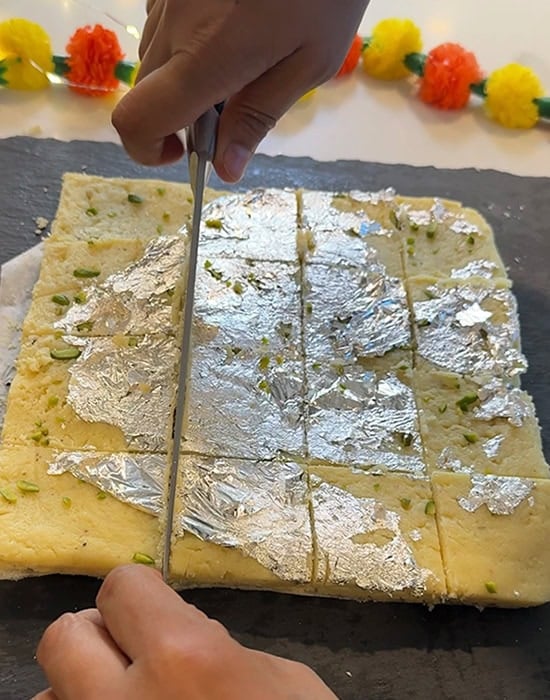
- Cut & serve
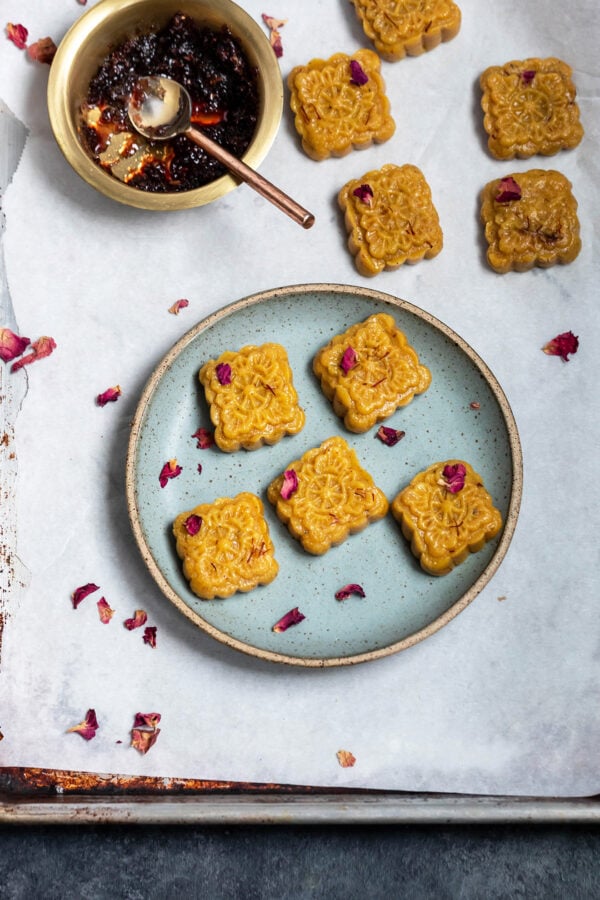
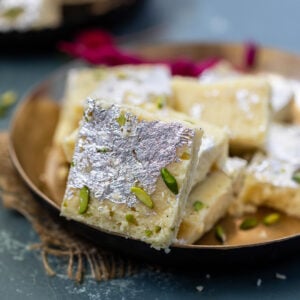
You can garnish with pistachios and decorate with slivered pistachios and edible silver leaves (optional). Once set, cut into 16 pieces and enjoy!
If you follow the recipe, you should end up with the perfect milk burfi. However, there are some things to keep in mind.
Tips For Making The Perfect Burfi
- Do not overcook the mixture, follow the times in the recipe, I have given you a range of 7 to 9 minutes in which the mixture is done. This time starts from the time you add the milk powder and mix it in and start stirring it. The time may vary depending on the thickness of the pan and the intensity of the heat but it should be done around this time. If you overcook the mixture, the burfi will turn out dry and also chewy.
- Avoid undercooking the mixture as well, if you do that, the burfi will not set and will not have a bite to it. If this happens, you can put the burfi mixture back into the pan and cook for 2 more minutes and then try setting it again.
- The heat needs to be very low after you add the milk powder, as low as it’s possible on your stove range.
- Stirring constantly is important, do not leave it at any time. The mixture will become brown if you do not stir it constantly. So, stir constantly for that 7 to 9 minutes of time after adding the milk powder.
- Adding citric acid is optional. When I make milk cake, which is one of my husband’s favorite Indian sweets, I always add citric acid which curdles the milk slightly and gives the milk cake its classic texture. I add a very little amount (just a pinch) to this burfi recipe as it helps with the texture but it is optional. You can skip it.

Authentic Burfi Recipe (Made With Milk Powder)
Ingredients
- 1 & ½ cups whole milk 12 oz
- 85 grams salted butter 6 tablespoons , can also use unsalted butter
- 100 grams granulated white sugar ½ cup
- 400 grams milk powder 2 cups , use full fat milk powder
- ¾ teaspoon cardamom powder
- pinch citric aid optional
- slivered pistachios and edible silver leaves for decorating
Instructions
- Before you begin, prepare a square pan (8×8 inch) for setting the burfi. Line it with parchment paper so that it's easier to remove the burfis later. If you don't have parchment paper, grease it will with a oil spray.
- To a heavy bottom pan on medium heat, add 1 & ½ cups whole milk. Also, add 85 grams (6 tablespoons) salted butter and stir. Mix until the butter melts and the milk and butter are well combined.
- Then add 100 grams granulated white sugar (½ cup) and mix until the sugar dissolves completely. You should not be able to feel any sugar crystals at this point.
- Now, add 400 grams milk powder (2 cups). Immediately turn the heat to lowest setting and start stirring. Mix well until the milk powder is well mixed with everything else. Then add ¾ teaspoon cardamon powder and stir.
- Continue to stir and do not leave the mixture unattended at any time. Stir continuously on low heat and at around the 4 minute mark, mixture will start to thicken. Add a pinch of citric acid at this point (optional but add it if you want that slight graininess in your burfi) and stir well.
- Keep stirring and anywhere between 8 to 9 minutes, you will see that the mixture leaves the sides of the pan completely and comes together as a dough (this time is from the point you add the milk powder and start stirring it), it has become completely non-sticky and you can easily roll it into a ball. It's done at this stage. Remove the mixture from heat and transfer it to the prepared square pan.
- Press the mixture into the pan using a spatula and spread it evenly. Press it down tightly. You can garnish it with pistachios and saffron strands or edible silver leaves if you like. Let the burfi come to room temperature and then pop it in the fridge for 1 hour to set completely. Once set, cut into 16 pieces (or more if you cut them into smaller pieces) and enjoy!
Notes
- Burfi will taste best when consumed within 48 to 72 hours. It will last in the fridge for around 5 days, keep it an airtight conatiner.
- You can also freeze the burfi in ziplock bags, that way that will stay good for 2 months.
- If using unsalted butter for this recipe, add 1/4 teaspoon salt to the mixture.
- My burfi always gets done by 9 minutes but it might take you a minute or two longer depending on the intensity of the heat and thickness of the pan. If it doesn’t set and seems like a halwa, you need to put the mixture back on heat and cook 2-3 more minutes on low heat and then set again.
Nutrition
Nutrition information is automatically calculated, so should only be used as an approximation.